


Post by Deleted on Aug 24, 2016 8:06:08 GMT
In the same vein as this thread from the old BSN: tips for taking better screenshots, a place to ask questions about the various programs used in screenarchery or ask for advice/critique on your shots, etc!
The user catabuca posted a very helpful rundown of the tools used to capture shots without the HUD, resize your images, and alter the appearance of the game itself. Some of the original post has been updated by me to reflect changes/updates and input additional information:
There are some general tools you can use to make the most of your game visuals and to give you various amounts of control over the camera to set up shots.
The DAI Cinematic Tools: this is your basic workhorse that you need to get full control over the camera. It's a small .exe that hooks into the frostbite engine and lets you use flycam, change fov (field of view), use things like dof (depth of field - this is what makes things in a scene blurred, typically seen in cutscenes where the background is blurred to give better definition to what is happening in the foreground), and even change post-processing stuff like tonemapping and character lighting. You control the camera using hotkeys or a gamepad. It can be a bit fiddly and is a little buggy, but it's the most important tool to use if you want to take shots unrestrained from your character. There is a readme included in the download. Read it!
Here is a good tutorial on some of the basic settings in the cinematic tools and how to change them to achieve different effects.
A note on changing the FOV:
NOTE:For anybody having issues getting the current version of the Cinematic tools to run, there's a link to download an older version here.
SweetFX/ReShade: this is a post-processing shader suite that lets you add various effects to the visuals of the game. For example, you can use SMAA, which is a cleaner, less soft version of AA than the FXAA that ships with most games, and is significantly less resource-intensive than MSAA. Or there's lumasharpening, which, as the name suggests, sharpens the image. You can alter colours, change levels, tonemapping, curves, etc. If you're confident editing a .txt file, you can alter the parameters yourself on the fly while the game is running so you can see what you're changing. Depending on what features you use, it can and will have an effect on your fps, but that can be very minimal depending on your set-up and, as I say, the features used.
The newest version runs using the ReShade injector (both can be downloaded at the title link). Here is a list of SweetFX presets to get you started (note that only the presets using version 2.0 will be compatible with ReShade. If you would like to use an older preset, simply follow the installation instructions for the one you'd like to use - most will need an injector called Boulotaur2024 instead of ReShade.)
SRWE (in the optional files): The Simple Runtime Windows Editor is another little .exe you run after starting the game that lets you change resolution and aspect ratio on the fly. You must run the game in windowed mode. You can create profiles for easy and fast switching. It enables you to capture images in unusual formats and at very high resolutions for better clarity when downsampling (resizing back down to your monitor's native resolution).
WBG: Another tool similar to SRWE (you can choose which one you prefer; you don't need both), Windowed Borderless Gaming allows you to set custom resolutions and play without a border when the game is set to Windowed mode. And a plus is that the FB3 engine will re-load the resolution to suit the window size. This is called hotsampling and is a very useful tool for screenarchery.
Notes on hotsampling and custom aspect ratios:
Of the four tools, the first is the most important. The other three are down to personal preference. It's absolutely possible to take some stunning shots with the first tool alone, just using its flycam and hide hud keys. If you use all three tools, expect screenarchery to take up more time than actually playing the game.
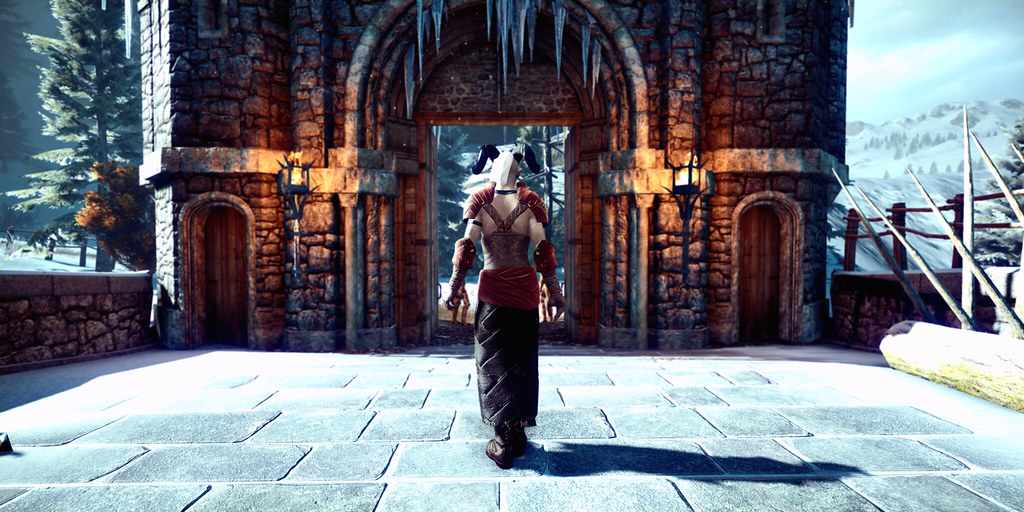
I've only just begun getting into this stuff myself, so my shots are by no means indicative of the level of quality you can achieve with the above tools, but here are a couple examples of the kinds of images you can create with no post-process altering outside of the game:
The user catabuca posted a very helpful rundown of the tools used to capture shots without the HUD, resize your images, and alter the appearance of the game itself. Some of the original post has been updated by me to reflect changes/updates and input additional information:
There are some general tools you can use to make the most of your game visuals and to give you various amounts of control over the camera to set up shots.
The DAI Cinematic Tools: this is your basic workhorse that you need to get full control over the camera. It's a small .exe that hooks into the frostbite engine and lets you use flycam, change fov (field of view), use things like dof (depth of field - this is what makes things in a scene blurred, typically seen in cutscenes where the background is blurred to give better definition to what is happening in the foreground), and even change post-processing stuff like tonemapping and character lighting. You control the camera using hotkeys or a gamepad. It can be a bit fiddly and is a little buggy, but it's the most important tool to use if you want to take shots unrestrained from your character. There is a readme included in the download. Read it!
Here is a good tutorial on some of the basic settings in the cinematic tools and how to change them to achieve different effects.
A note on changing the FOV:
The FoV tool (page up/page down hotkeys) comes in handy when you are trying to zoom in on something, particularly with faces. It can also be used to widen your shot, similar to using a wide-angle camera lens. Once you first hit it, you will have a screen that makes no sense. Just keep holding the button down til things come back into view. My biggest suggestion to you is to play around with it. It took me quite a while to get used to it.
Under the Misc tab, you'll see that the default fov is set to -1. If you set it to 0 you get a black screen. If you set it to anything higher you get a normal picture at various focal lengths. I believe that ~50 is relative to default fov, so if you set it to 50 when you want to start lining up a shot and use the fov hotkeys from there you won't get an inverted screen. Set it back to -1 when you're done taking screenshots so that your fov will be correct during cutscenes.
(What is happening when you get the inverted screen is the fov dropping below -1.)
There are lots of reasons you might want to change the fov of a shot. I recommend experimenting on a single scene with something in the foreground and something in the background, and taking the same shot with different fov values so you can see what differences it makes.
One reason might be that you change the fov to a larger number because you want to fit something in frame but you can't move the camera back any further. Likewise, you might change the number down because you want to hide something off-camera but moving closer ruins the shot in some way.
Another reason might be that you want to change the perceived distance between foreground and background objects. The narrower (smaller) the fov the closer together objects will appear. That also means background objects will appear larger. The wider (larger) the fov the farther away background objects will appear, and thus will also appear smaller. This can have a big impact on composition, and can help you achieve a more interesting shot if you know what kind of feeling you want to elicit.
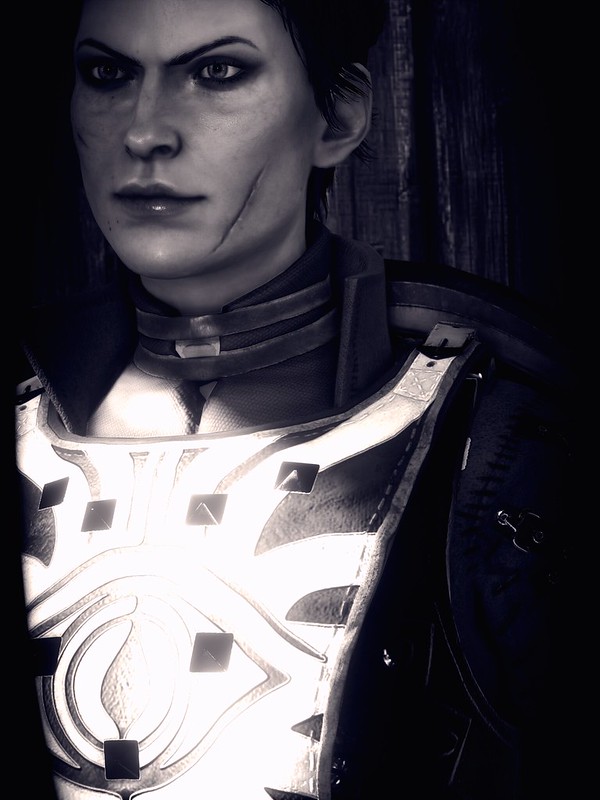
When taking portraits, you can change the shape of someone's face using fov - which can help get across a particular feeling. A lower fov will make someone's face appear wider and shorter; conversely a higher fov will make someone's face appear narrower and longer (this obviously applies to all objects, but in portraits it can be especially important and/or useful).
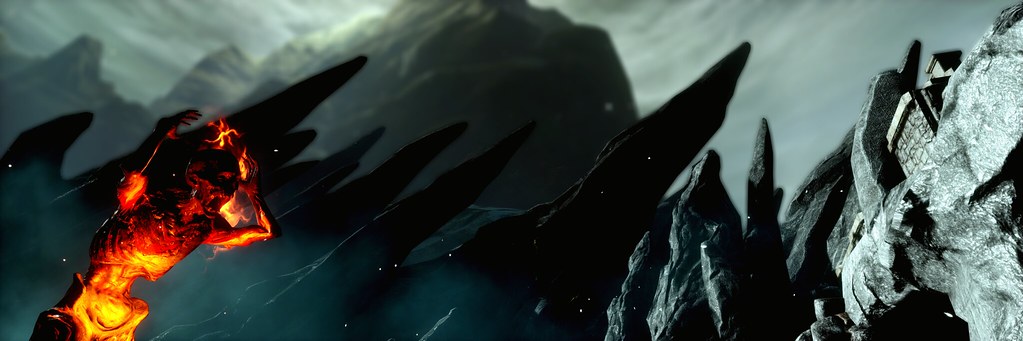
Be aware, a wide fov will start to distort the image. Objects at the further edges of the picture will start to tilt inwards, so they won't be vertical anymore. Only what is in the middle of your picture will be vertical. This can be used to good effect in some images (I used a very high fov, a low angle, and I also tilted the camera so that the vertical object in the image was the hand on the left, with everything to the right of it appearing to lean over - I think it works here because it enhances the dream-state aspect of The Fade). In others, all you end up doing is creating a picture that looks unbalanced and badly framed. That's not to say that all vertical objects/lines must be perfectly vertical in your shots all of the time. As soon as you start tilting the camera up/down or rolling it clockwise/anti-clockwise your lines will start to shift. It's a good idea to find the object(s) that act as the 'anchor' or main focus of the picture (not always necessarily the people in the picture) and see if that looks well-aligned. If it does, the eye will generally compensate for any other lines that aren't.
With that all in mind, if you're not going for a shot that would definitely benefit from the distortion of a wide fov, try to stick to a lower fov as it will create the least distortion. Better to pull out than to go wide. (It's often said that the best tool a photographer has for focusing and fov isn't a zoom lens but their feet.) Still, there is no rule against using a wide fov, and it can be a lot of fun and produce amazing shots - but more can go wrong with a wide fov than can with a narrow one.
Under the Misc tab, you'll see that the default fov is set to -1. If you set it to 0 you get a black screen. If you set it to anything higher you get a normal picture at various focal lengths. I believe that ~50 is relative to default fov, so if you set it to 50 when you want to start lining up a shot and use the fov hotkeys from there you won't get an inverted screen. Set it back to -1 when you're done taking screenshots so that your fov will be correct during cutscenes.
(What is happening when you get the inverted screen is the fov dropping below -1.)
There are lots of reasons you might want to change the fov of a shot. I recommend experimenting on a single scene with something in the foreground and something in the background, and taking the same shot with different fov values so you can see what differences it makes.
One reason might be that you change the fov to a larger number because you want to fit something in frame but you can't move the camera back any further. Likewise, you might change the number down because you want to hide something off-camera but moving closer ruins the shot in some way.
Another reason might be that you want to change the perceived distance between foreground and background objects. The narrower (smaller) the fov the closer together objects will appear. That also means background objects will appear larger. The wider (larger) the fov the farther away background objects will appear, and thus will also appear smaller. This can have a big impact on composition, and can help you achieve a more interesting shot if you know what kind of feeling you want to elicit.
When taking portraits, you can change the shape of someone's face using fov - which can help get across a particular feeling. A lower fov will make someone's face appear wider and shorter; conversely a higher fov will make someone's face appear narrower and longer (this obviously applies to all objects, but in portraits it can be especially important and/or useful).
Be aware, a wide fov will start to distort the image. Objects at the further edges of the picture will start to tilt inwards, so they won't be vertical anymore. Only what is in the middle of your picture will be vertical. This can be used to good effect in some images (I used a very high fov, a low angle, and I also tilted the camera so that the vertical object in the image was the hand on the left, with everything to the right of it appearing to lean over - I think it works here because it enhances the dream-state aspect of The Fade). In others, all you end up doing is creating a picture that looks unbalanced and badly framed. That's not to say that all vertical objects/lines must be perfectly vertical in your shots all of the time. As soon as you start tilting the camera up/down or rolling it clockwise/anti-clockwise your lines will start to shift. It's a good idea to find the object(s) that act as the 'anchor' or main focus of the picture (not always necessarily the people in the picture) and see if that looks well-aligned. If it does, the eye will generally compensate for any other lines that aren't.
With that all in mind, if you're not going for a shot that would definitely benefit from the distortion of a wide fov, try to stick to a lower fov as it will create the least distortion. Better to pull out than to go wide. (It's often said that the best tool a photographer has for focusing and fov isn't a zoom lens but their feet.) Still, there is no rule against using a wide fov, and it can be a lot of fun and produce amazing shots - but more can go wrong with a wide fov than can with a narrow one.
NOTE:For anybody having issues getting the current version of the Cinematic tools to run, there's a link to download an older version here.
SweetFX/ReShade: this is a post-processing shader suite that lets you add various effects to the visuals of the game. For example, you can use SMAA, which is a cleaner, less soft version of AA than the FXAA that ships with most games, and is significantly less resource-intensive than MSAA. Or there's lumasharpening, which, as the name suggests, sharpens the image. You can alter colours, change levels, tonemapping, curves, etc. If you're confident editing a .txt file, you can alter the parameters yourself on the fly while the game is running so you can see what you're changing. Depending on what features you use, it can and will have an effect on your fps, but that can be very minimal depending on your set-up and, as I say, the features used.
The newest version runs using the ReShade injector (both can be downloaded at the title link). Here is a list of SweetFX presets to get you started (note that only the presets using version 2.0 will be compatible with ReShade. If you would like to use an older preset, simply follow the installation instructions for the one you'd like to use - most will need an injector called Boulotaur2024 instead of ReShade.)
SRWE (in the optional files): The Simple Runtime Windows Editor is another little .exe you run after starting the game that lets you change resolution and aspect ratio on the fly. You must run the game in windowed mode. You can create profiles for easy and fast switching. It enables you to capture images in unusual formats and at very high resolutions for better clarity when downsampling (resizing back down to your monitor's native resolution).
WBG: Another tool similar to SRWE (you can choose which one you prefer; you don't need both), Windowed Borderless Gaming allows you to set custom resolutions and play without a border when the game is set to Windowed mode. And a plus is that the FB3 engine will re-load the resolution to suit the window size. This is called hotsampling and is a very useful tool for screenarchery.
Notes on hotsampling and custom aspect ratios:
Hotsampling- this is an offshoot of downsampling, but done slightly differently. With downsampling, you are rendering the game at resolutions greater than that of your monitor's native resolution and then 'downsampling' so that it fits on your monitor. The reason for doing this is most often as a very good form of anti-aliasing (aliasing is caused when there aren't enough pixels to create smooth lines - each pixel is a square, and squares can't be made to look like curved lines unless there are so many of them that the eye can't distinguish between them; the various types of AA you find in games usually 'fill in the blanks' with varying degrees of success. Supersampling anti-aliasing and things like downsampling increase the amount of pixels available to render scene, making lines appear smoother, and less jagged). Downsampling is very performance intensive, and while it would be nice to be able to run games during normal gameplay downsampled it's often beyond most people's capabilities. Cue hotsampling: tools like SRWE and WBG let you increase the resolution of the image on the fly, so you can take a picture at a very large resolution. When displayed normally at a smaller size, the effect is the same as had it been downsampled -- more pixels compressed into the smaller image size, meaning for less aliasing. Additionally, downsampling/hotsampling can increase the fidelity of colours, shadows, lighting -- and when taken together with the improvements to anti-aliasing it makes for an altogether cleaner picture.
Custom ARs - without tools like SRWE or WBG that allow hot-switching of aspect ratios, if you wanted to play in, for example, an anamorphic ratio like 21:9 (akin to the widescreen you see at the cinema) you'd have to force it through your driver beforehand, and it's often cumbersome to set up, and not everyone's drivers allow for it. SRWE and WBG let you set up multiple profiles and switch between them easily, meaning you can play in the regular game AR, and switch it to a different one when you want to compose a shot. As with photography, there's nothing wrong with cropping, but it's a good idea to be able to compose for the frame, and it's better to be able to see what something will look like in a particular AR as you're composing, rather than waiting until afterwards to crop. If I'm composing a shot I might have an idea that it would work better in a 1:1 AR, but I won't truly know until I get into PS afterwards and crop it. Being able to set the AR beforehand, while you're composing, means you make the best of the space on offer and can set up shots in a more meaningful and successful way.
Both of these work in tandem, because if you're taking a shot at 1920x1080 and you want to crop it into a portrait AR, say 3:4, you're going to end up with a smaller image. You're throwing away pixels. Being able to set your AR, and then hotsample to a larger resolution, means your end picture could be something like 2430x3240, which gives you lots of room for resizing down or displaying on larger monitors and not losing any of that fidelity.
Is any of this necessary? Of course not. It all depends what you want to get out of the pictures you take.
With the Frostbite engine, hotsampling can have its drawbacks. Bloom doesn't scale so if, for example, you have an area of bloom that covers approximately 3 inches of your screen, when I hotsample by x3 the bloom doesn't scale to cover 9 inches of the screen, it stays the same size. This has the effect of making shadows even darker than they would be normally because wide bloom in the image might have been artificially lightening them. Sometimes that can look just fine.
Of the four tools, the first is the most important. The other three are down to personal preference. It's absolutely possible to take some stunning shots with the first tool alone, just using its flycam and hide hud keys. If you use all three tools, expect screenarchery to take up more time than actually playing the game.
I've only just begun getting into this stuff myself, so my shots are by no means indicative of the level of quality you can achieve with the above tools, but here are a couple examples of the kinds of images you can create with no post-process altering outside of the game:


 Now all I have to do is learn how to use it, which should not be too difficult.


